Editing your listing extractor
With the Listings Extractor we created, we might want to go back in and clean up other values within Import.io before getting our data output.
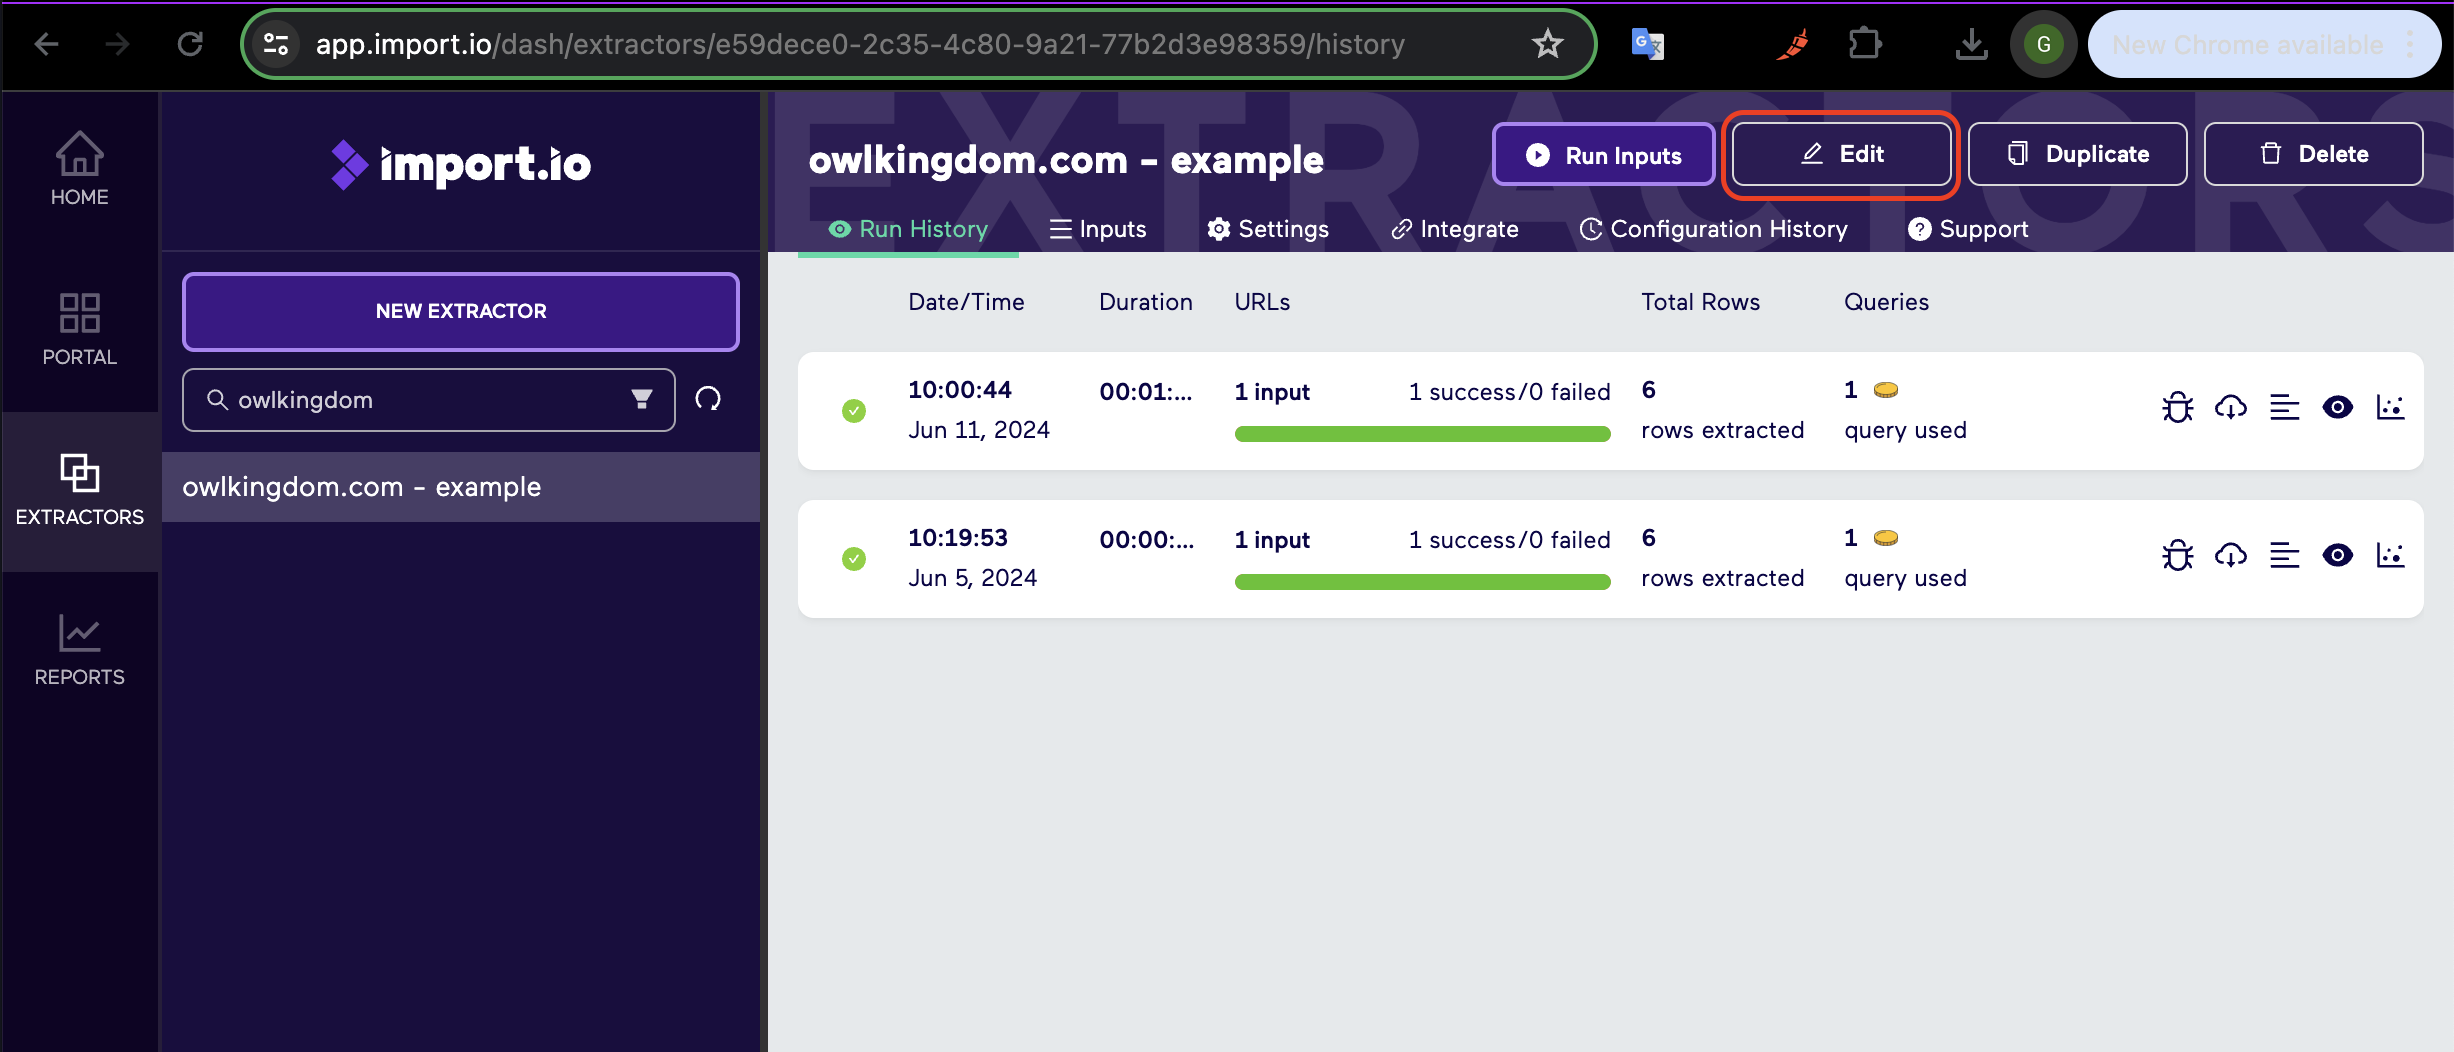
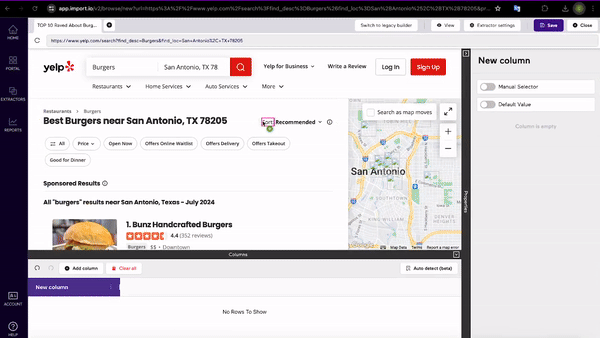
You can click Edit to get back to the Edit view of an extractor. Once the page loads, there are other ways to expose hidden data. One way you can add find values that might be originally hidden by turning off the styling of a page. To this, go to the Extractor Settings options, then disable CSS. This will expose the website, without CSS, showing the page in an HTML format. The styling can be turned back on by re-enabling CSS. This an example shown with Yelp.com.
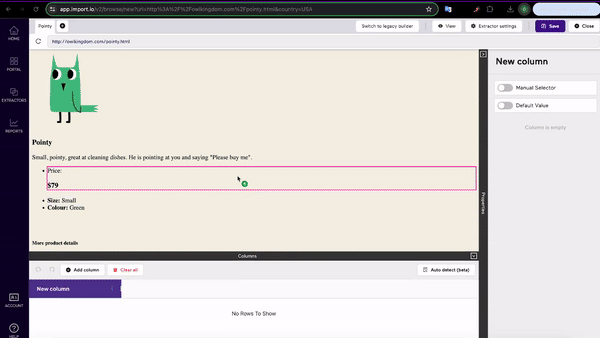
Train with additional URLs
Uses multiple URLs to train the Extractor, helping to locate the data you want more consistently. The more examples the extractor has of the data you're searching for, the more accurate the data extracted will be. http://owlkingdom.com/pointy.html, is an example of a secondary page. Once you add a second page, you can switch between the two pages to re-select data points if needed. The extractor will now use both pages to understand which data point you are selecting.
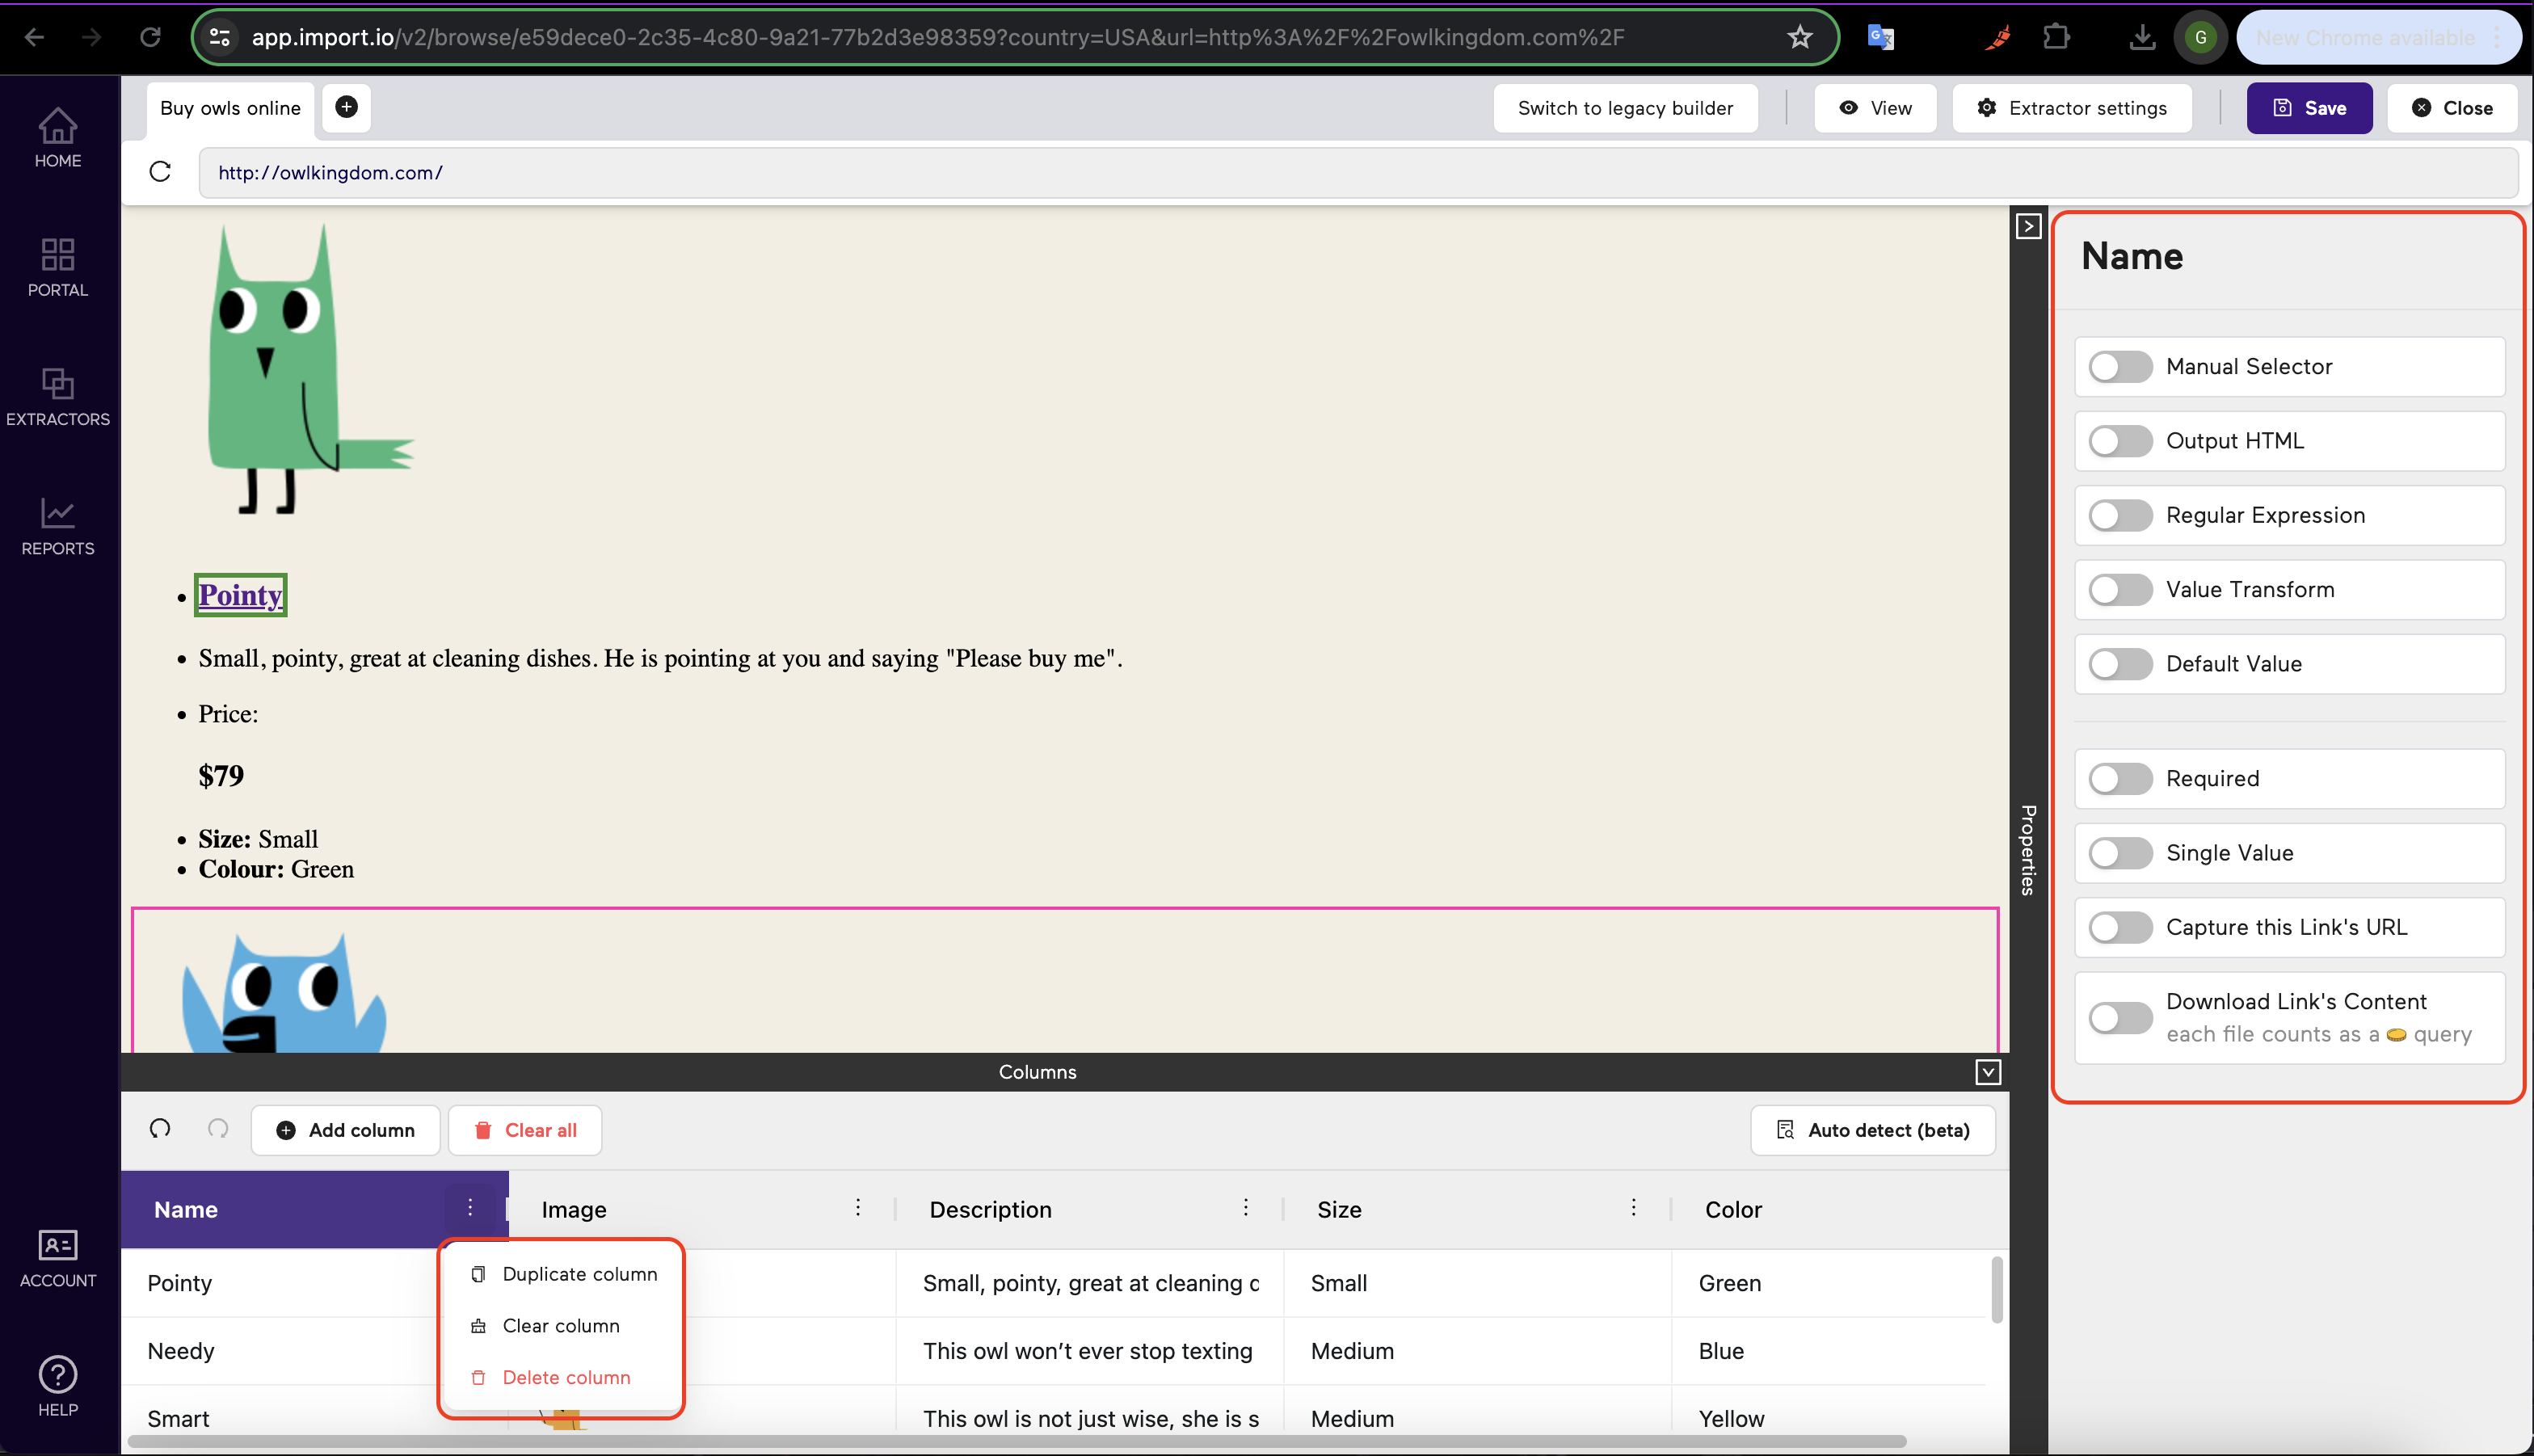
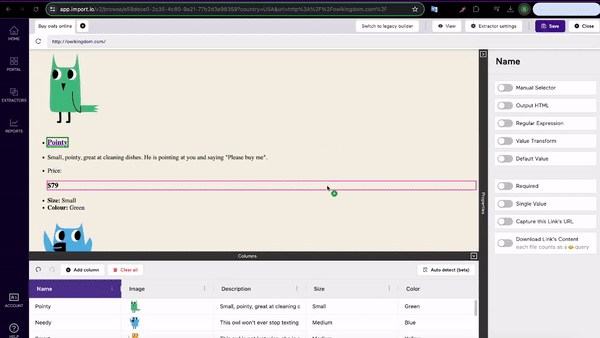
Besides adding data columns, you can edit existing data columns as well. Clicking the drop-down arrow next to a column name will reveal the column setting menu and you can find more editing options right side of the page under the column settings.
'Clear Data' will remove any training from a column. 'Duplicate Column' will create a copy of the same column, with the same training. 'Delete Column' will remove the entire column.
You can also find the 'Trashcan' icon on the column on the right-hand side of the page & where you can add new columns. If you select the 'Trashcan' icon on the right-hand side of the screen under "Capture this Link's URL", this will allow you to delete the column selected. If you select the 'Trashcan' icon in the Data section, this will allow you to delete all columns you previously created.
Capturing Links
Select the column you used to capture the Name of each owl. Select 'Capture this links URL' on the right-hand side clumn options. This will capture the link of the Details Page for every owl.
Before saving the extractor, you can drag and drop the data columns to rearrange the order. How you rearrange the columns is how the data will be presented in the output. Once you are done, click Save and Run or Save Only.
Now with the details extractor finished, you will want to move on to creating a Details Extractor.