This article picks up from the end of Part 3: Creating a Details Extractor.
Now you should have both, a Listings extractor and a Details Extractor.
With the listings extractor created for a search page, you might want to add more URLs to your listings extractor since the site has more than one page of results.
Accessing Extractor Settings
To make changes to how your extractor behaves, you can make changes to the extractor's settings. To access an extractor's settings, navigate to the extractor in the dashboard and click Settings to switch over to the settings tab.
![]()
From here you can set email notifications after your extractor runs, schedule your extractor, and set webhooks.
In the settings, you also have the option to change the Proxy Settings. This is useful if you're looking at websites outside of your geographic region. Changing the country can help access websites from other regions that may be blocked in your current region. Additional options to either use a standard Data Center Proxy, or a Premium residential Proxy can also help to access websites that may not load properly.
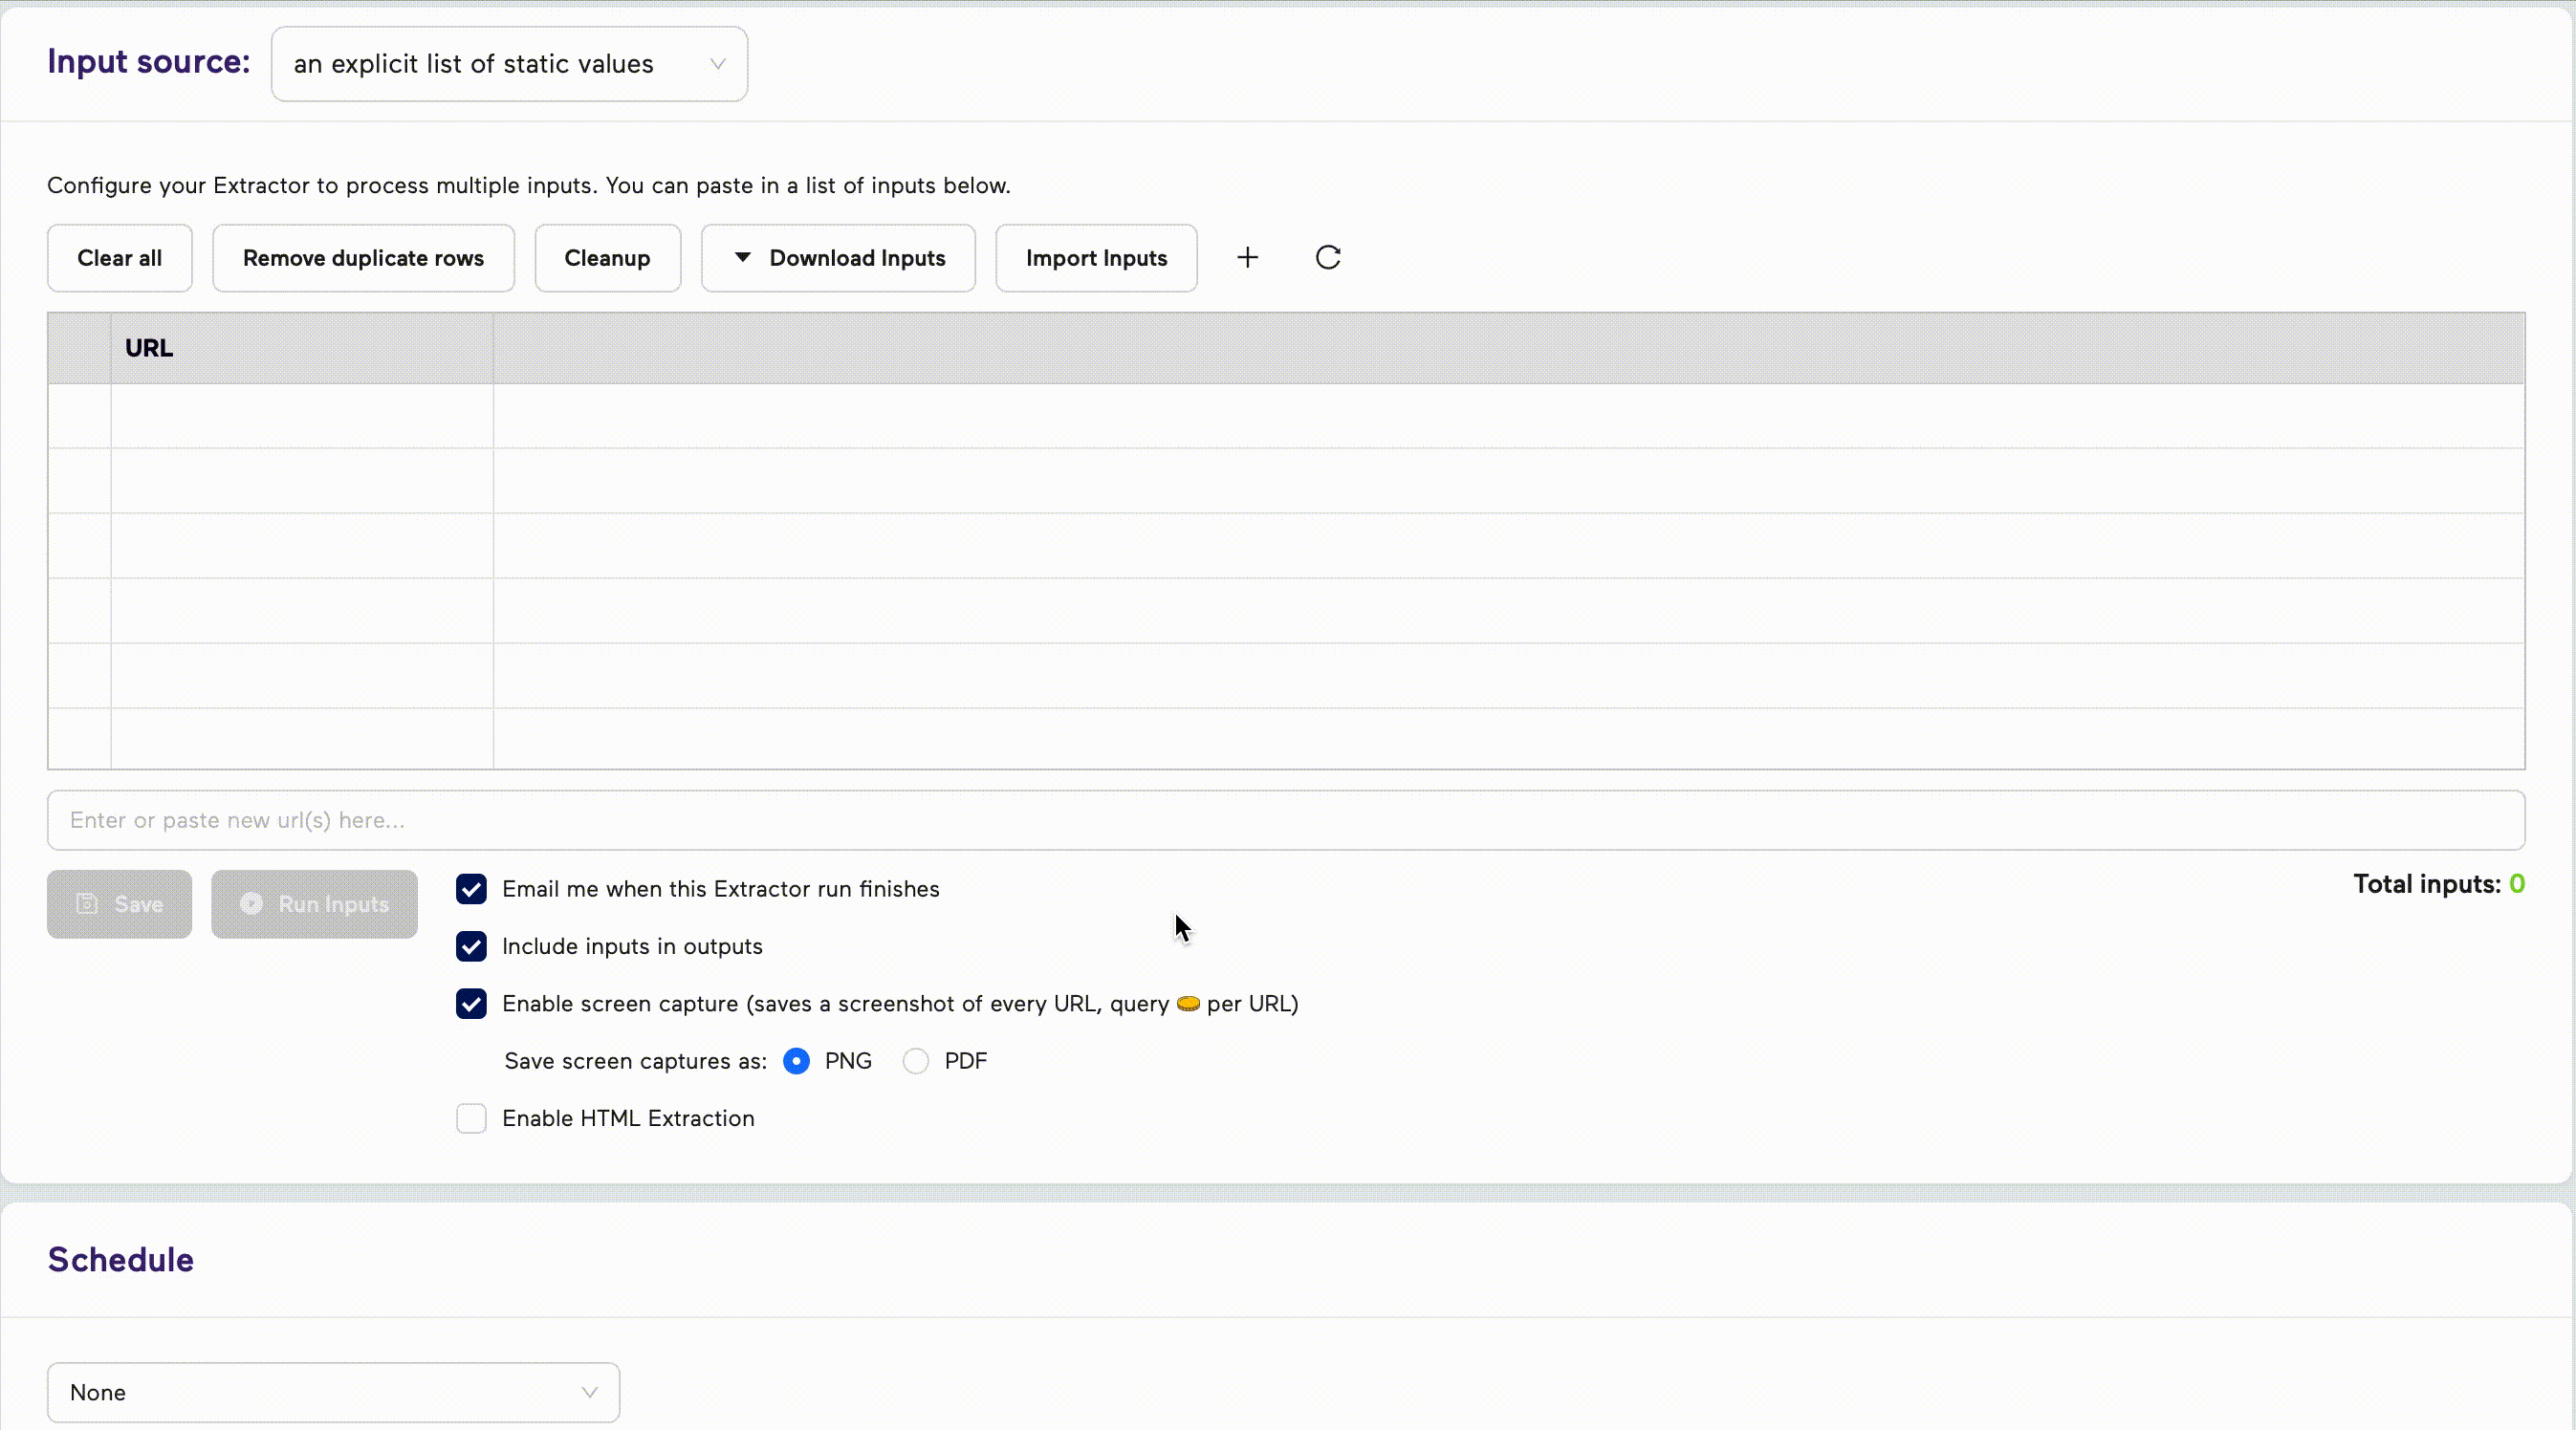
Adding and Removing Inputs
Next, we'll navigate to the Inputs tab. Here, you can add and remove URL inputs your extractor runs.
The Input Source will start as an 'Explicit List of Static Values'. There are other options we will go over later. Leave the Listings Extractor on this setting.
If we need to remove 1 input row from our sources, we can right-click on the row we want to delete and an option to delete the row will populate.
If we need to remove all URLs from the extractor, remove all URLs from the extractor by clicking Clear All. You can remove individual rows by clicking on the URL and hitting backspace/delete on your keyboard.
![]()
Add and Edit a single URL
If we need to add a single input for the extractor, click the + icon. It will automatically populate the URL used to initally create the extractor. Double click the link to edit the URL. You can also add URLs by inserting them into the address bar below the input list.

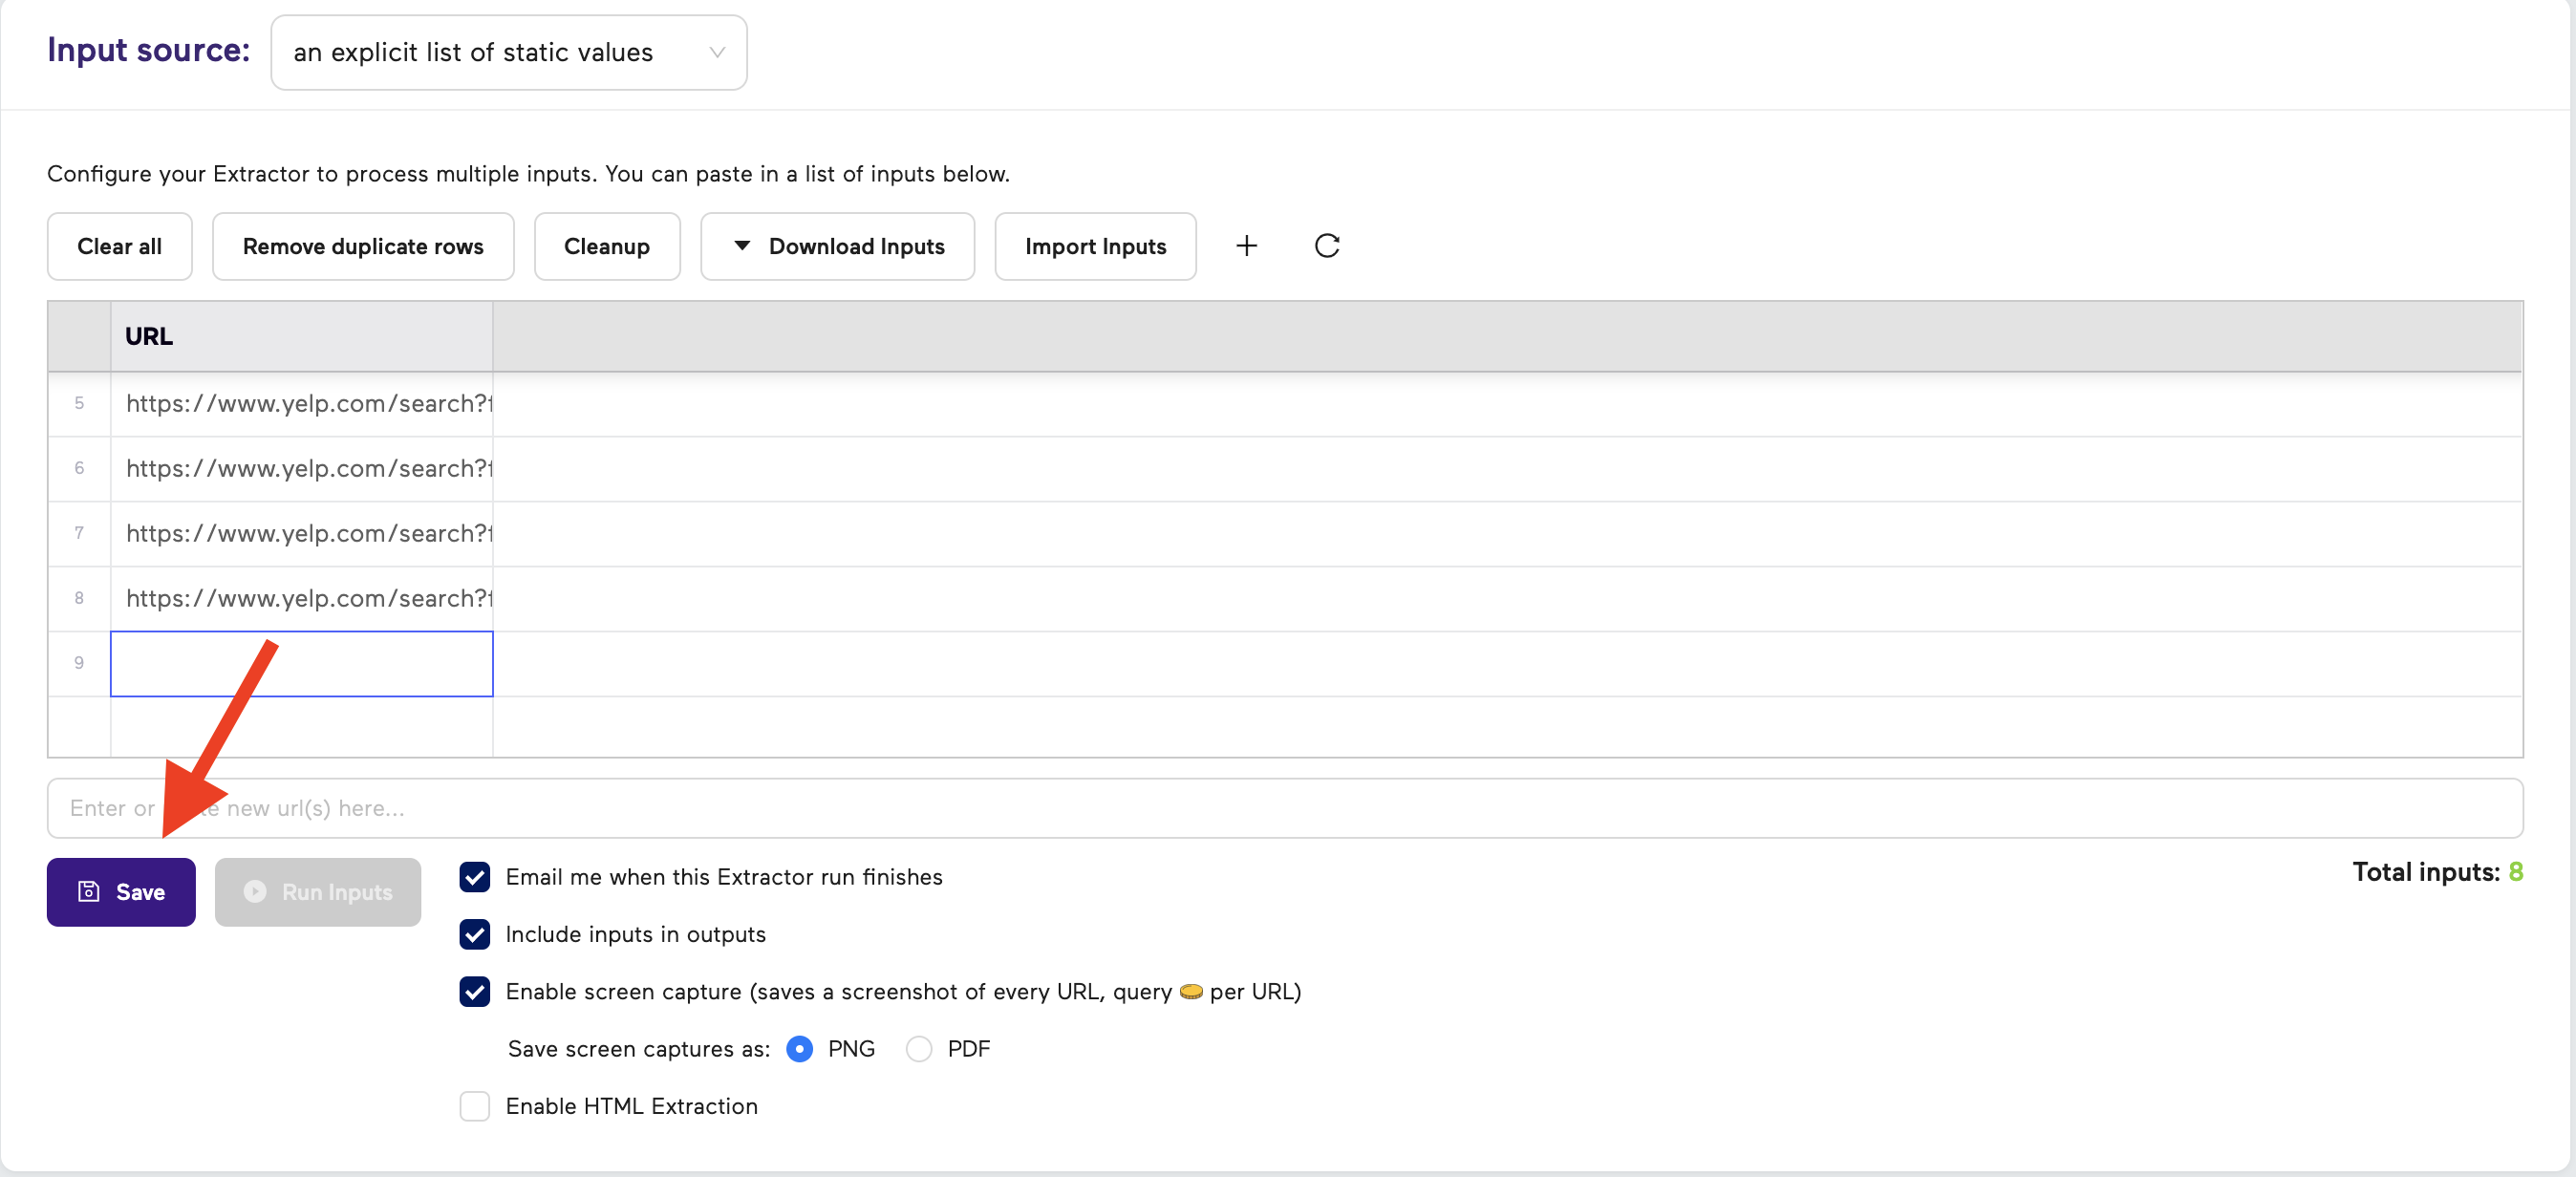
Add multiple URLs
If we want import multiple inputs to the extractor, click Import Inputs. Then follow the prompts to upload your file. The file types accepted are .csv and .Excel XLSX. These files will typically contain URLs to be imported into your extractor. An example is show with Yelp.com inputs.
Cleaning Extractor Sources
After adding the URLs, you can use various options in the extractor settings to clean up the URLs. Remove duplicate rows will remove any duplicate sources for your extractor. Clean-up will remove any empty rows and invalid URLs.
Remember to Save after any changes to your input list!
Now that we have added the inputs saved, we need our Listing Extractor and Details Extractor to work together to produce data about each individual Owl.